
This guide explains how customers can buy subscriptions, assign licenses, and manage existing plans using the app’s interface integrated with Stripe.
Step 1: Open the Buy License Page
- Click on the Buy License icon from the left sidebar.
2. Go to the Plans tab — this will display all available subscription plans.
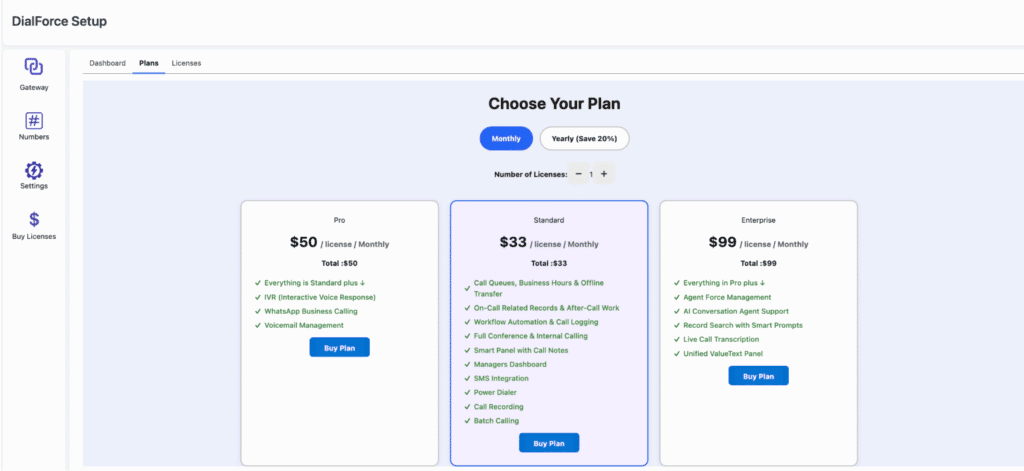
3. Select:
- The Plan you want to purchase.
- The Number of Licenses/Subscriptions you want to buy.
4. When prompted, select your Subscription Cycle:
- Monthly
- Yearly
5. Click on Buy.
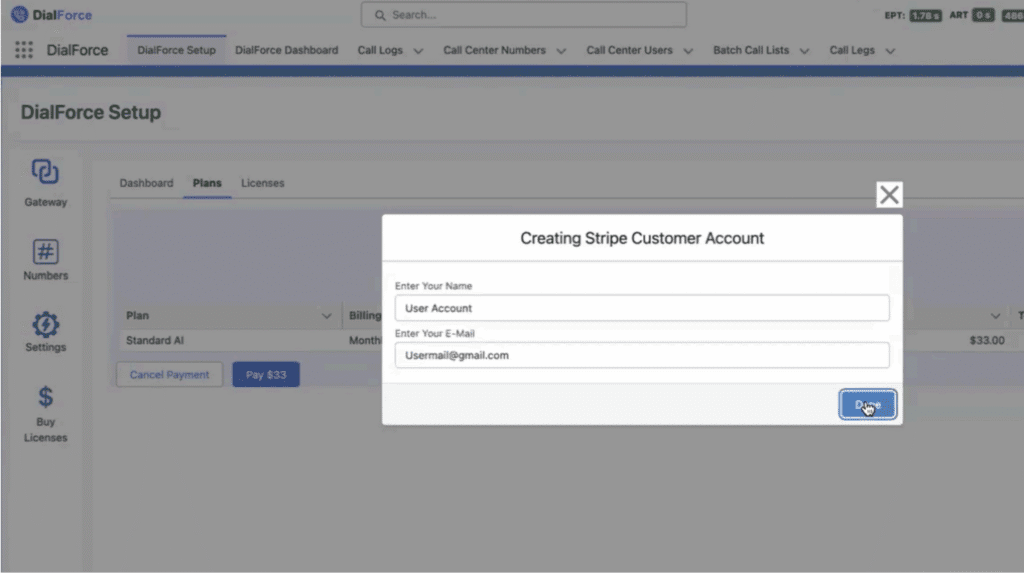
Step 2: Stripe Account Creation #
- The system will check if your organization already has a Stripe Customer ID.
- If no Stripe account exists:
- A pop-up form will appear asking for your Name and Email Address.
- Fill out the details and click Done.
- A Stripe account will be automatically created for your organization.
- A pop-up form will appear asking for your Name and Email Address.
- If no Stripe account exists:
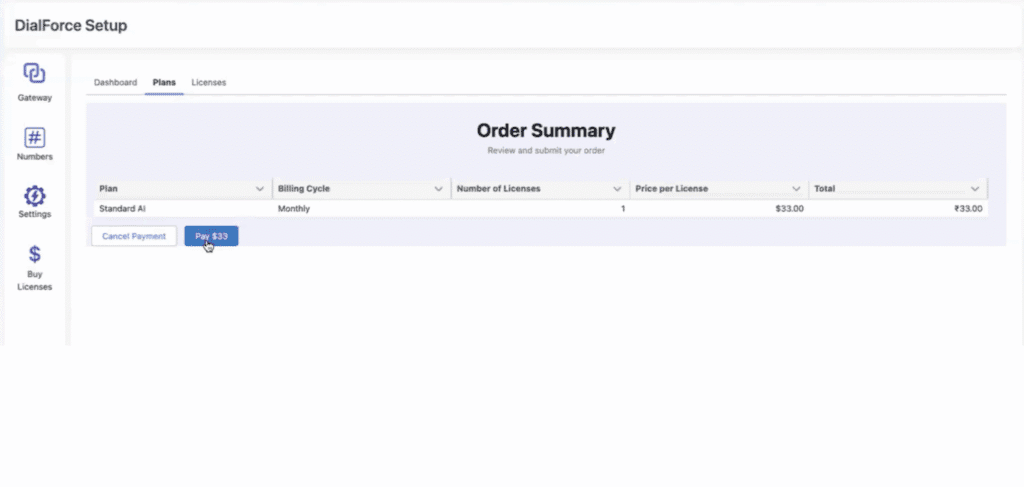
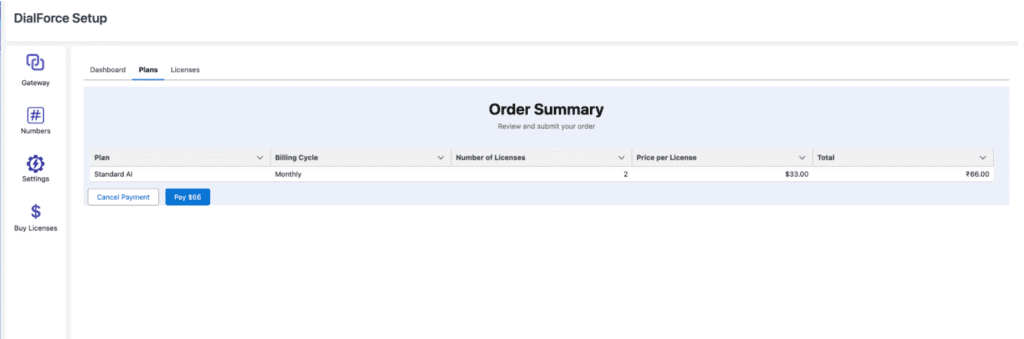
Once your Stripe account is set up, you’ll see an Order Summary showing your selected plan details, total amount, and cycle.Review the information carefully.Click Pay to proceed.Step 3: Review Order Summary
Step 4: Complete Payment on Stripe #
- You will be redirected to the Stripe payment window.
- Enter your payment details and click Subscribe.
The payment amount will be deducted from your account.

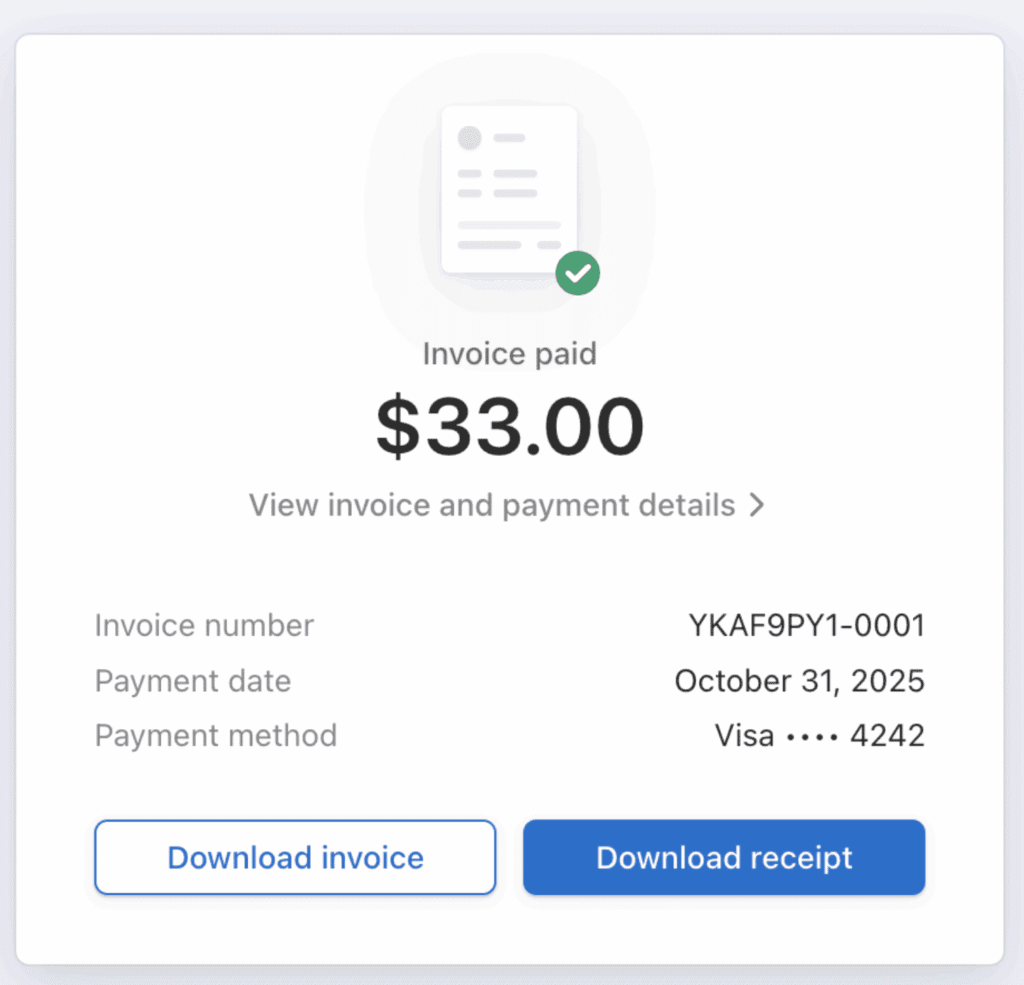
Step 5: After Successful Payment #
- Once payment is completed, the system will create your subscription on Stripe.
- You’ll automatically be redirected back to your organization’s page in the app.
- A confirmation screen will appear showing your active subscription.
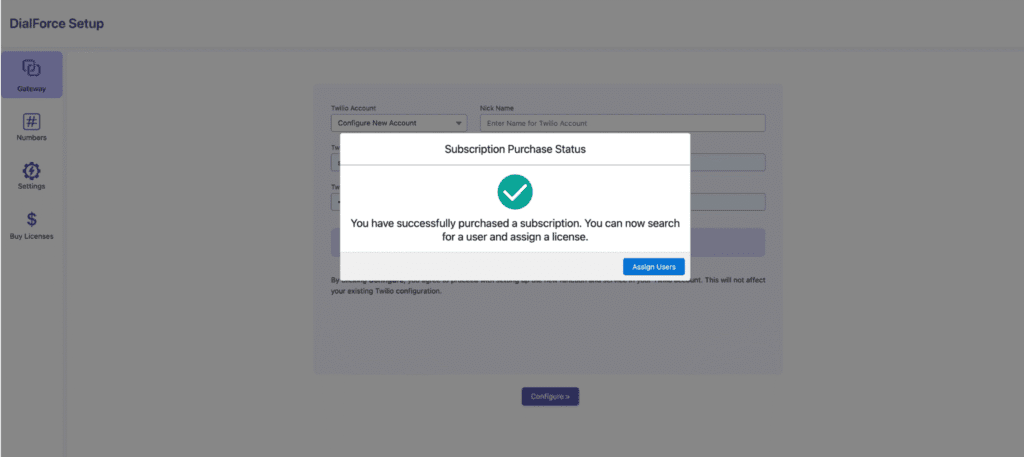
After Clicking on the Assign users the License Assignment window will be opened and proceeds as of Step 6.
Step 6: Assign Licenses #
After purchasing, licenses can be assigned to users.
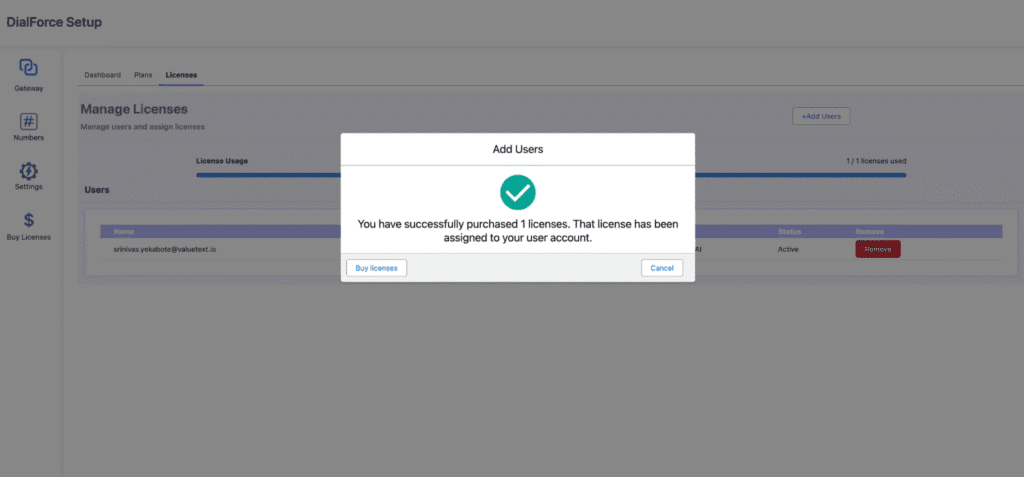
Case 1: Purchase #
- If this is your first subscription and you have purchased one license then that one license will be automatically assigned to the logged-in user.
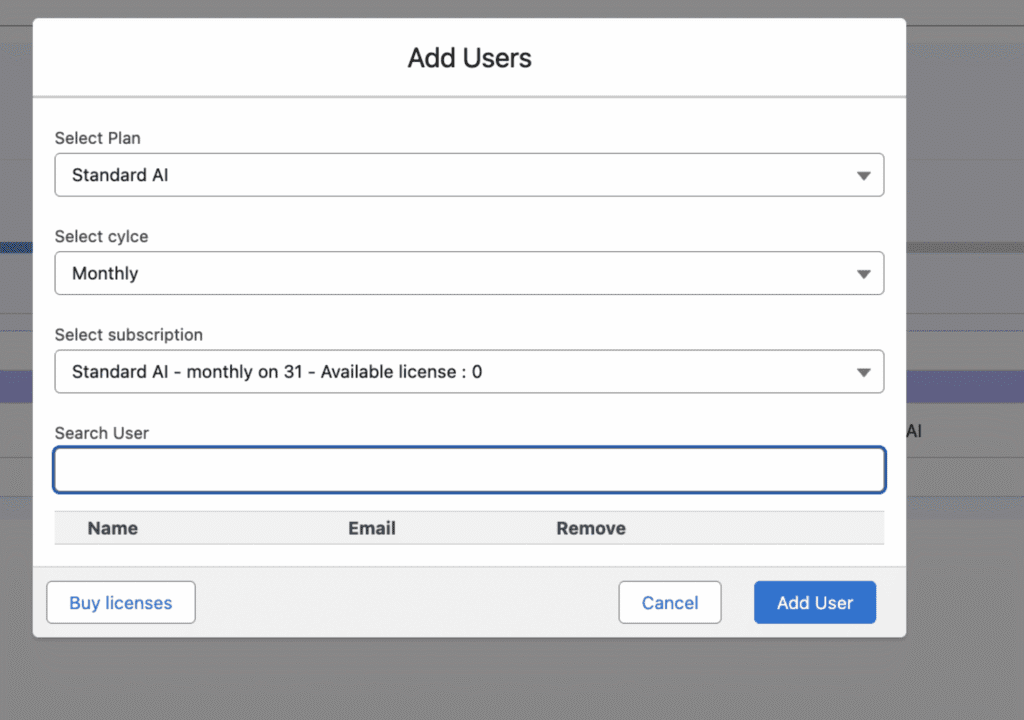
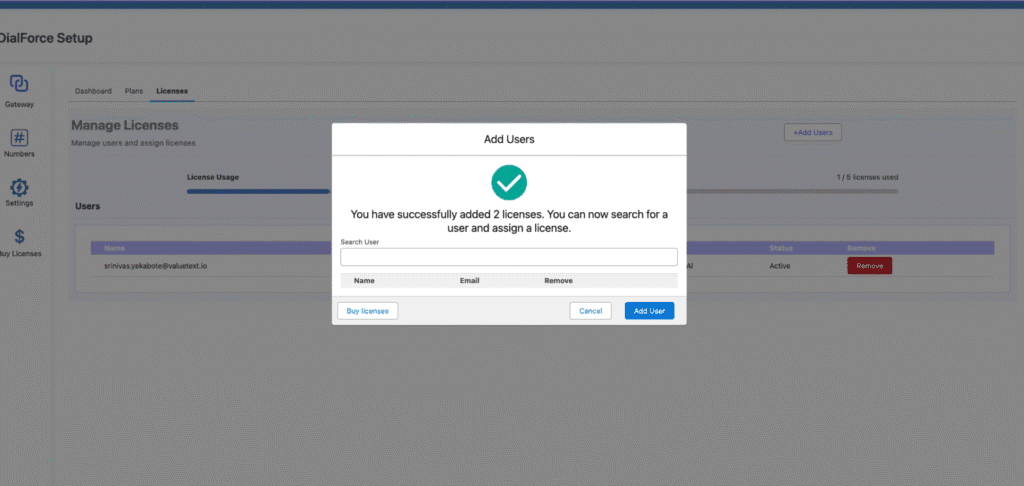
- If this is your first subscription and you have purchased more than one license then that one license will be automatically assigned to the logged-in user and the remaining license assignment window will be opened as shown below.
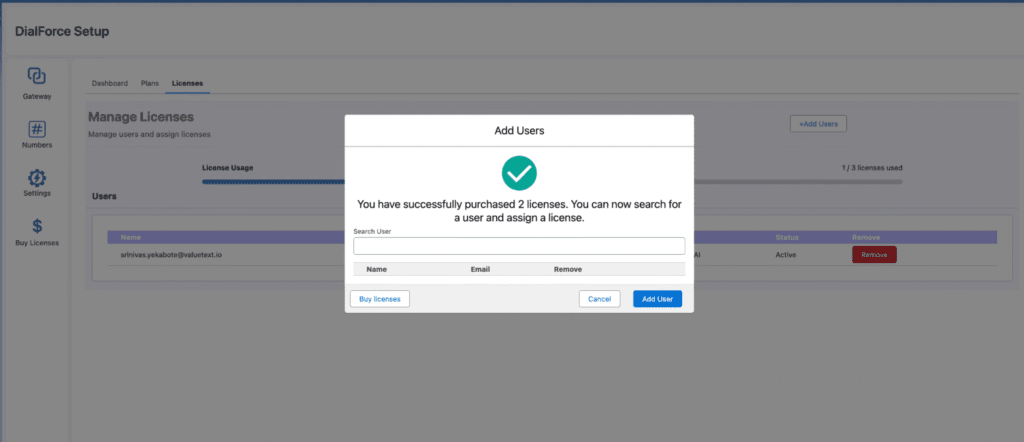
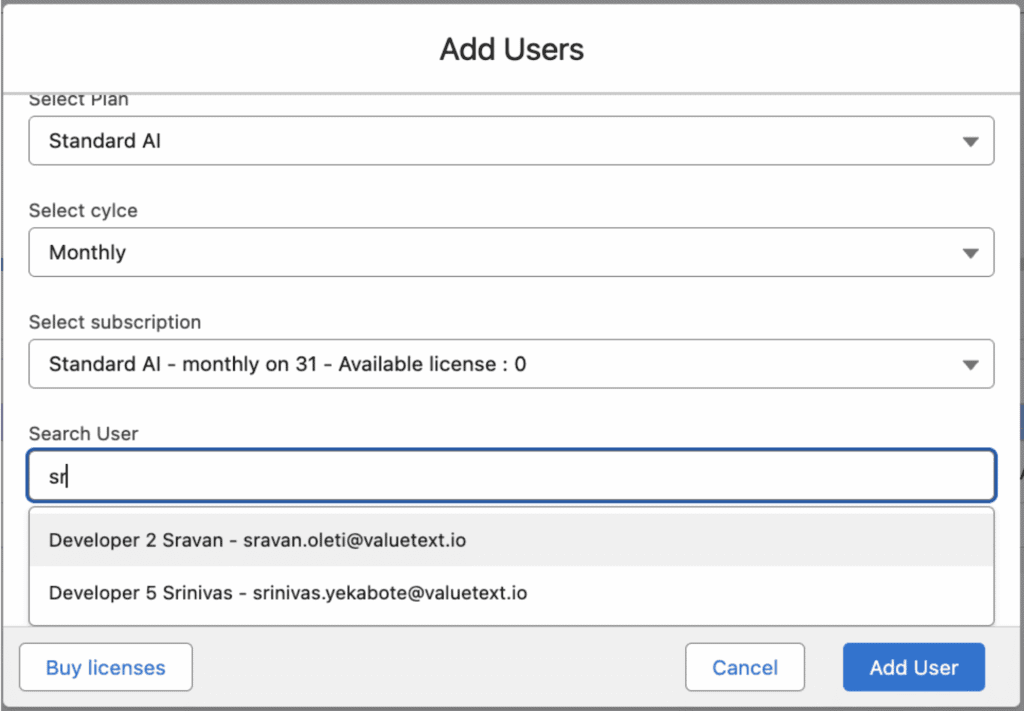
1. In the Search User field, type the name of the user.
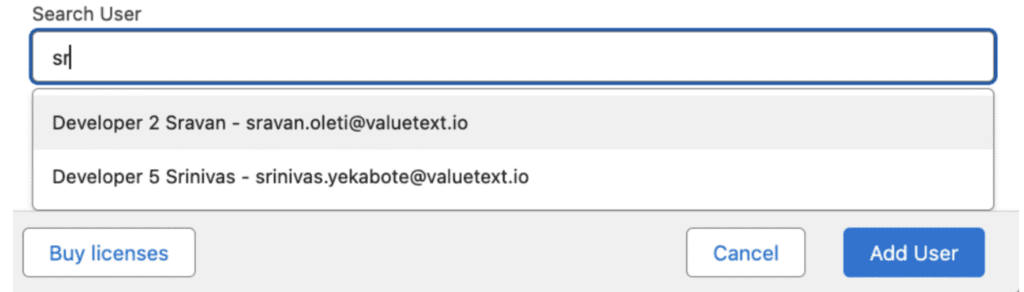
2. Select the user from the list.
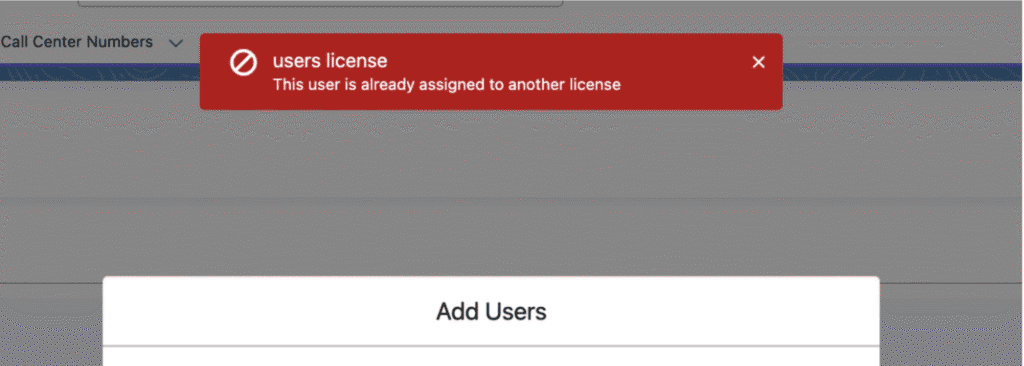
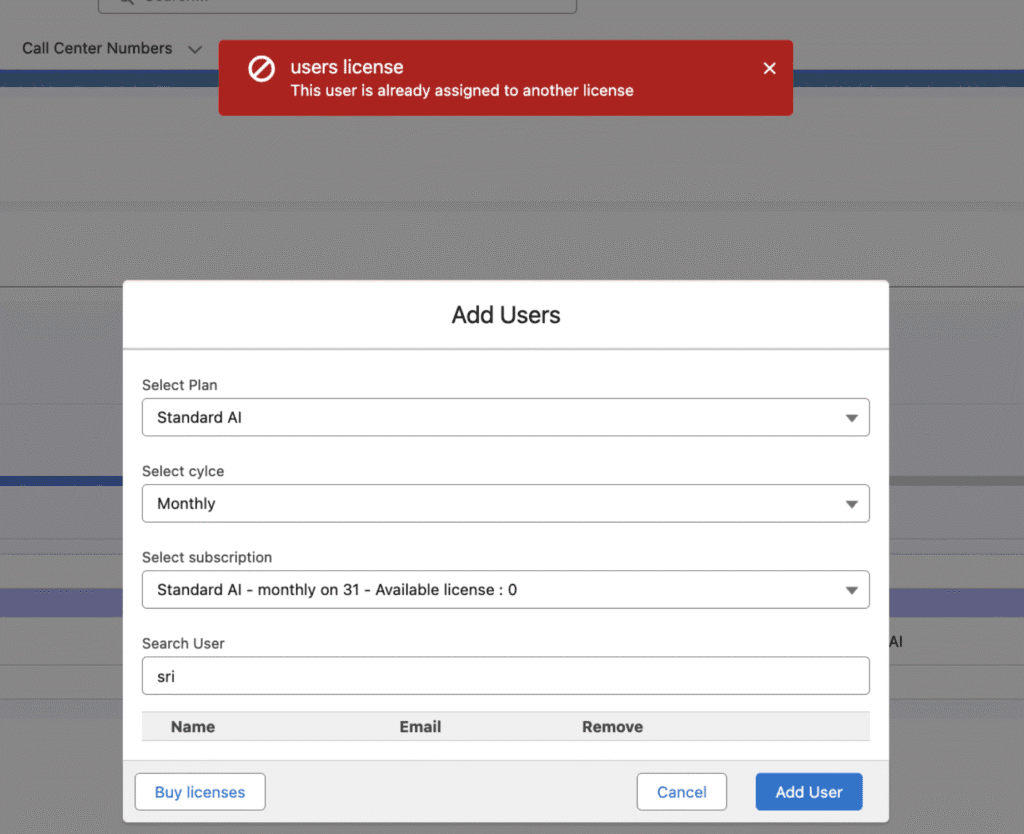
If a user already has a license assigned, you’ll see an error message.
- If not then it will show as follows
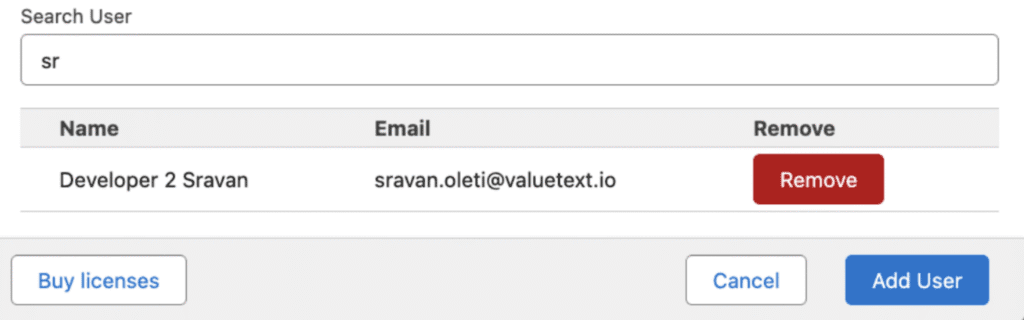
3. Click Add User to complete the assignment.
4. The assigned users will now appear in the license list.
Case 2: Assigning Licenses Manually #
5. Click on the Buy License icon from the left sidebar.Go to the Licenses tab.
6. The License Assignment window will open.
7. Click Add Users.
8. Select:
- Plan
- Cycle (Monthly/Yearly)
- Subscription from the list.
9. In the Search User field, type the name of the user.
10. Select the user from the list.
- If a user already has a license assigned, you’ll see an error message.
- If not then it will show as follows
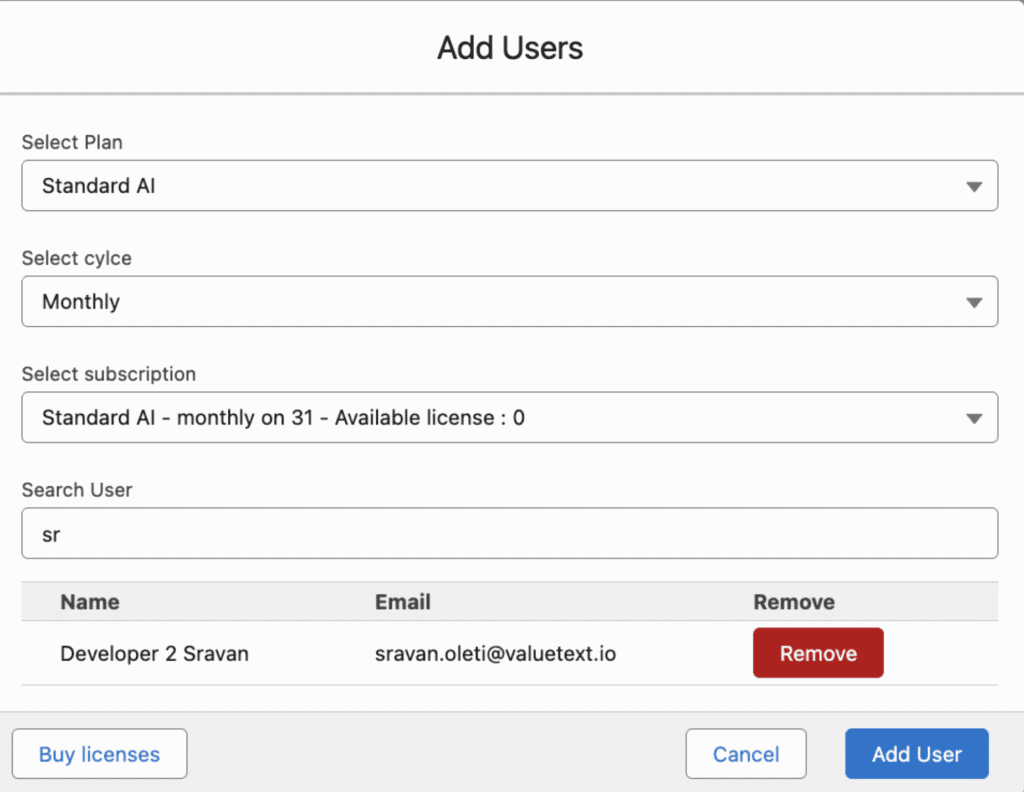
11. Click Add User to complete the assignment.
12. The assigned users will now appear in the license list.
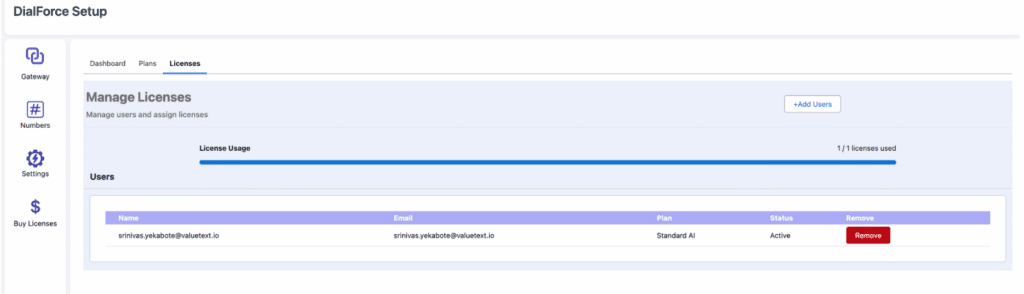
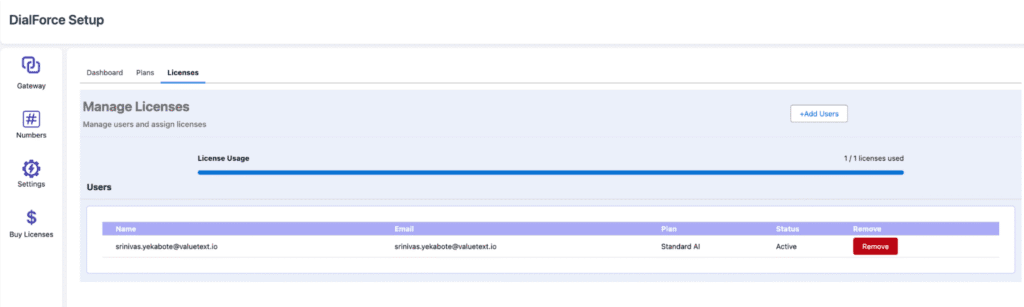
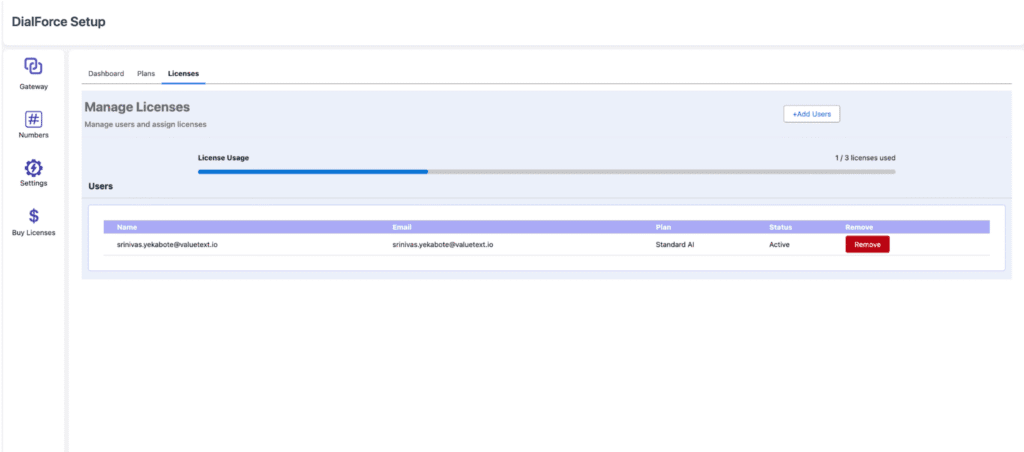
Step 7: View and Manage Licenses #
1. Go to the Licenses Tab on the dashboard.
2. Here you can view:
- Total Licenses Purchased
- Total Licenses Assigned
- Available Licenses
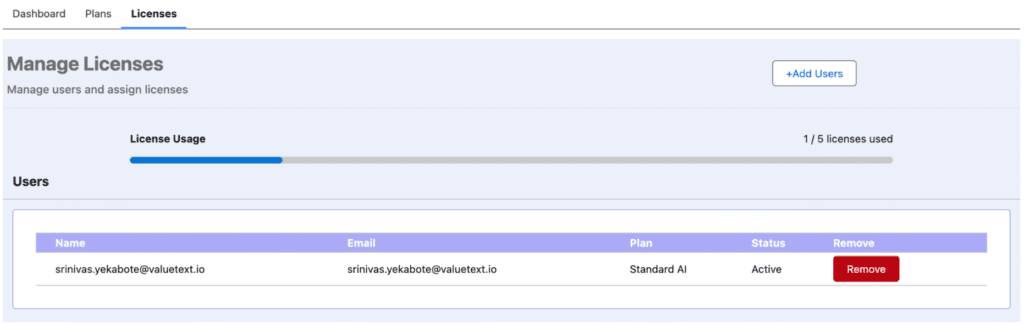
3. To remove a license, click the Remove License button next to the user’s details.
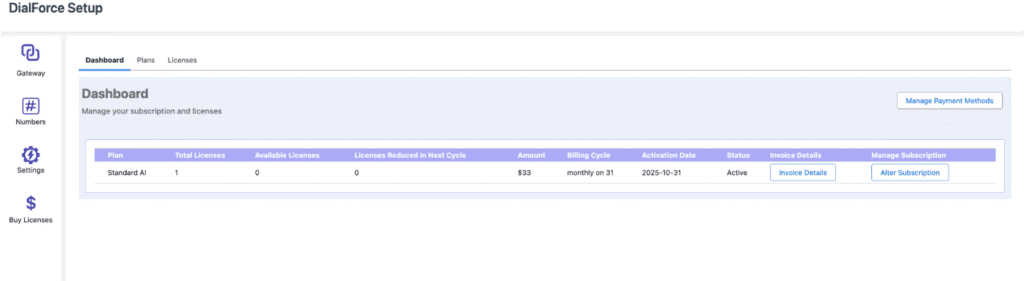
Step 8: View Subscription Details(Dashboard) #
1. Click on the Buy License icon from the left sidebar.Go to the Dashboard tab.
2. The Dashboard displays all your active subscriptions with details.
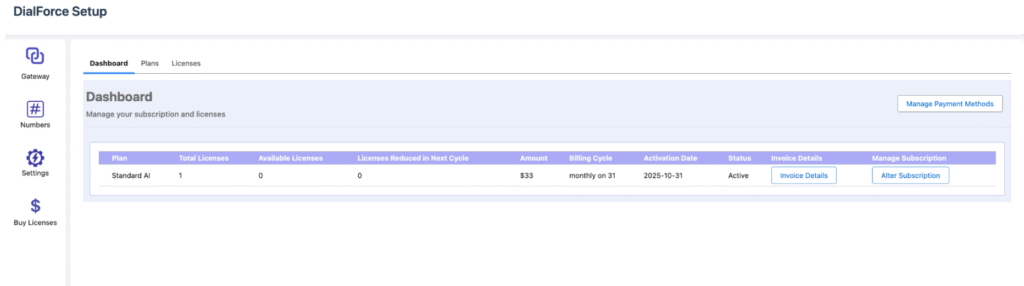
3. To view an invoice:
- Click Invoice Details on the desired subscription.
- The invoice will appear.
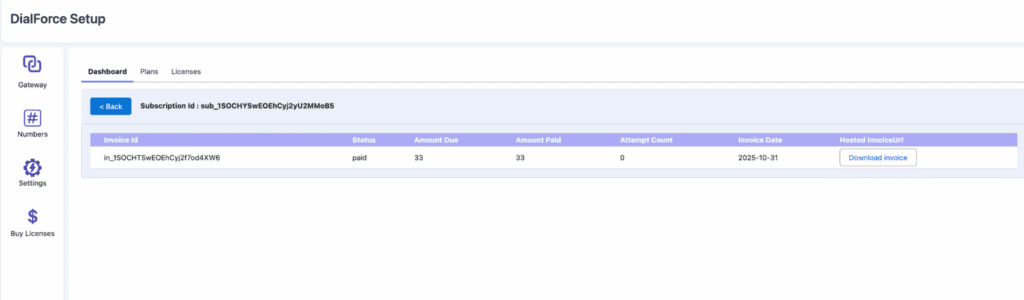
4. To download it:
- Click Download Invoice.
- The invoice will be downloaded directly from Stripe.
Step 9: Modify Subscription (Add/Reduce Licenses) #
1. Click the Alter Subscription button in the dashboard.
2. A window will appear allowing you to:
- Increase or Decrease the number of licenses.
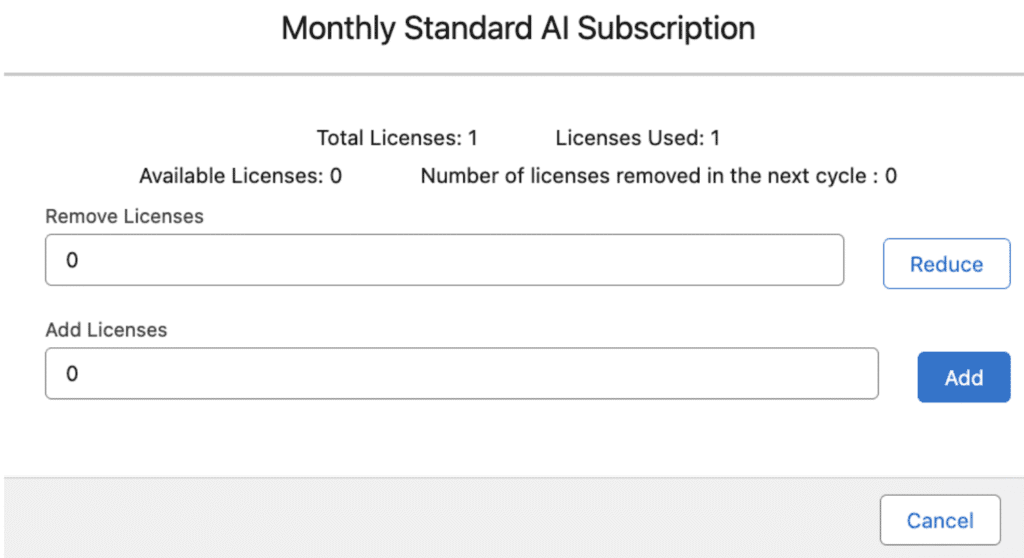
3. Notes:
- If you reduce licenses, the change will apply to the next payment cycle if the next billing date is more than 15 days away.
- If the next payment is in less than 15 days, the change will apply in the following cycle.
- You can also increase the license of the subscription by adding them in the Add Licenses input box.
Step 10: Add More Licenses to an Existing Subscription #
1. Go to the Plans Tab and click Buy Plan again.
2. If an existing subscription already exists for that plan:
- The system will automatically increase the license count for that subscription.
3. Click Pay to confirm.
4. Payment will be processed automatically using the existing Stripe payment method.
5. After successful payment, you’ll see a confirmation screen and the updated license count.
Step 11: Manage Your Stripe Account #
1. To view or manage your Stripe account:
- Click the Manage Payment button on the dashboard.
2. You’ll be redirected to your Stripe Customer Portal.
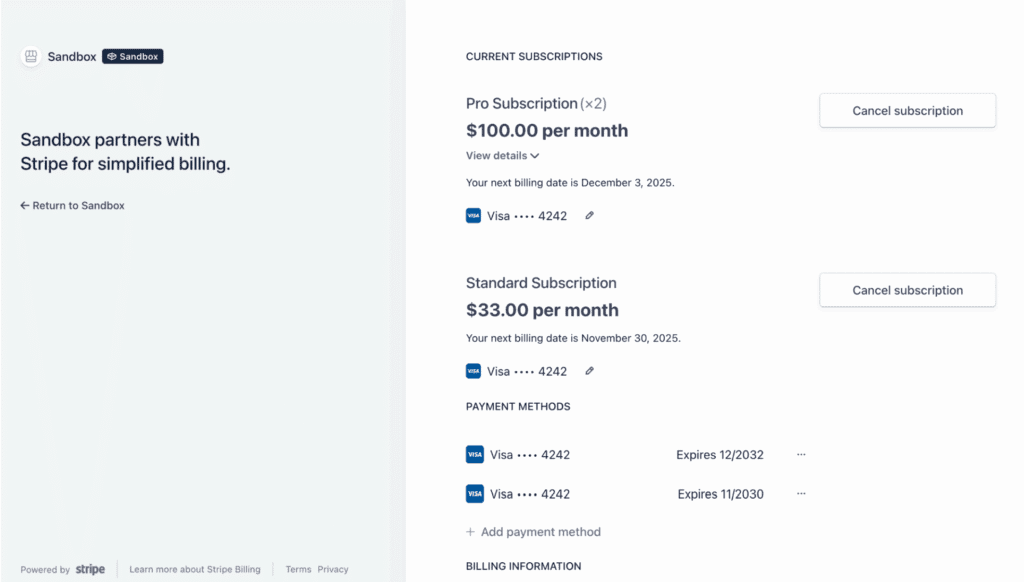
3. Here, you can view:
- Subscription details
- Payment history
- Invoices
- Billing information


