The Batch Calling feature helps your team call a large number of customer records efficiently, directly from your Salesforce org.
Follow these steps to set up and use the feature in your environment.
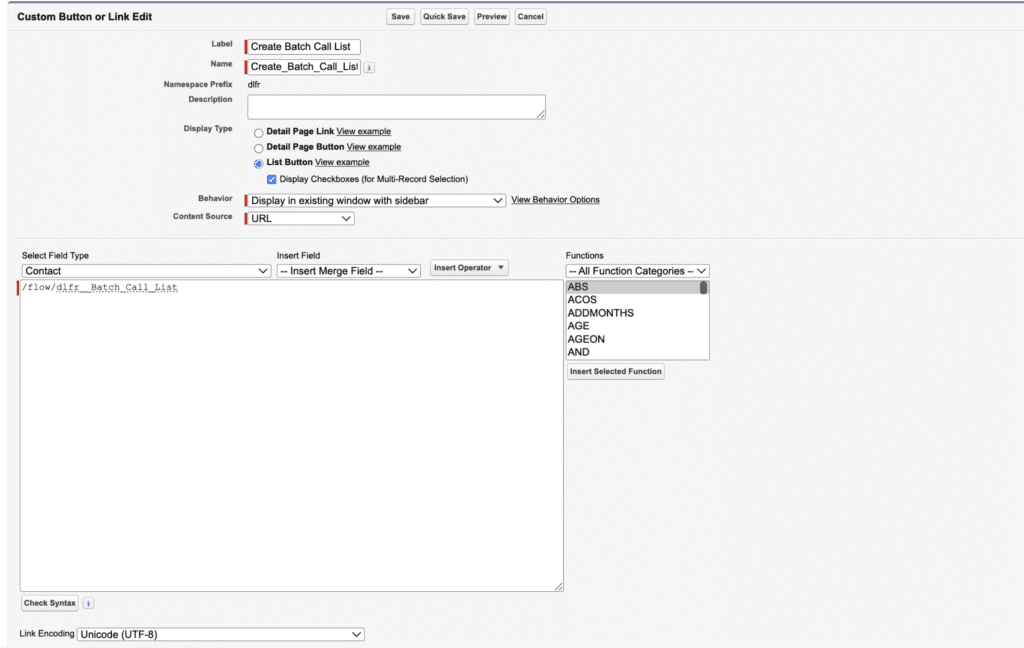
Step 1: Create the “Create Batch Call List” Button #
To begin using Batch Calling, you need to create a custom list view button.
- Go to Setup → Object Manager → [Your Object Name] (e.g., Lead, Contact).
- Click Buttons, Links, and Actions.
- Click New Button or Link.
- Fill in the following details:
- Label: Create Batch Call List
- Display Type: List Button
- Behavior: Display in existing window with sidebar
- Content Source: URL
- URL Value: /flow/dlfr__Batch_Call_List
- Label: Create Batch Call List
- Click Save.
✅ This button allows you to generate a new batch call list from any list view.
Step 2: Use the Button in the Object List View #
- Go to the list view of the object (e.g., All Leads, My Contacts).
- Use filters to show only the records you want to call.
- Select the records you want to include in your batch.
- Click Create Batch Call List.
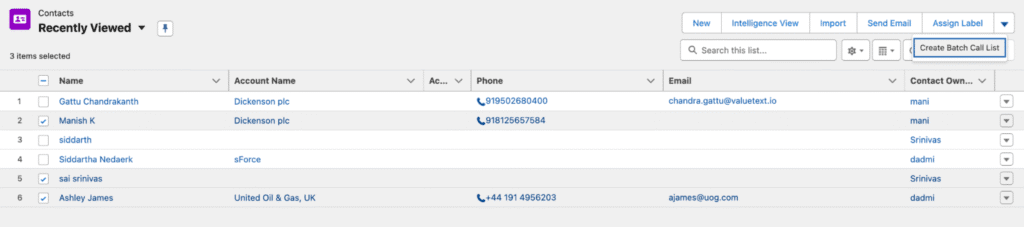
✅ A new page opens showing the total number of selected records.
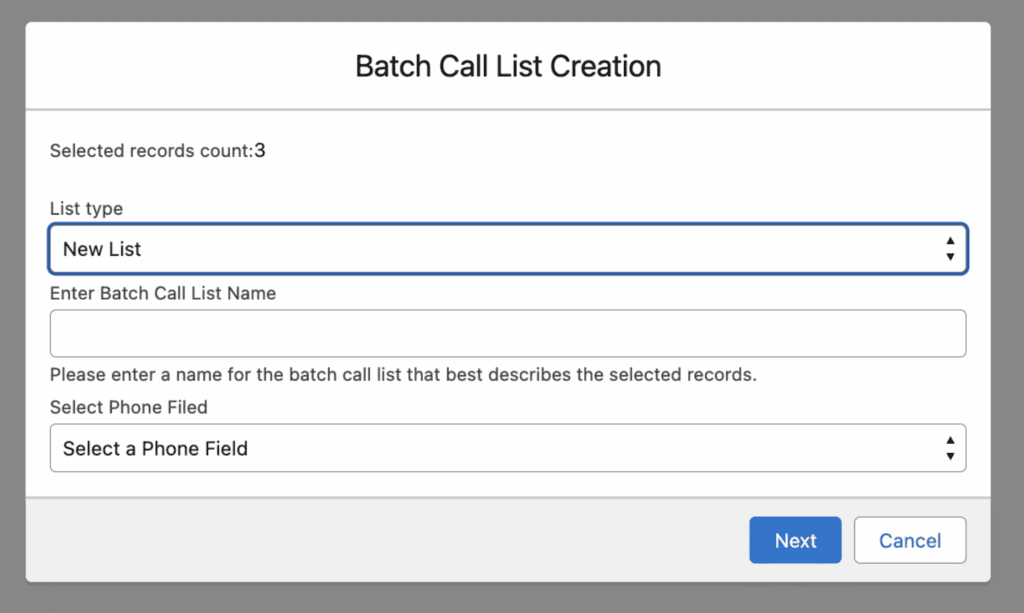
Step 3: Choose the Batch List Type #
You can either add the selected records to an existing batch or create a new one.

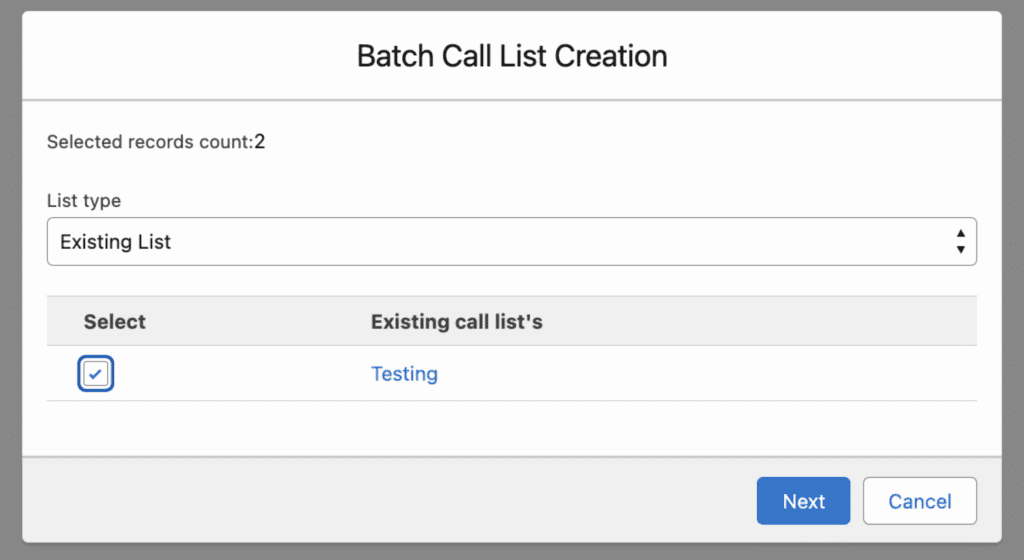
Option 1: Existing List #
- Choose Existing List.
- Select the batch list you want to add the records to.
- Click Next.
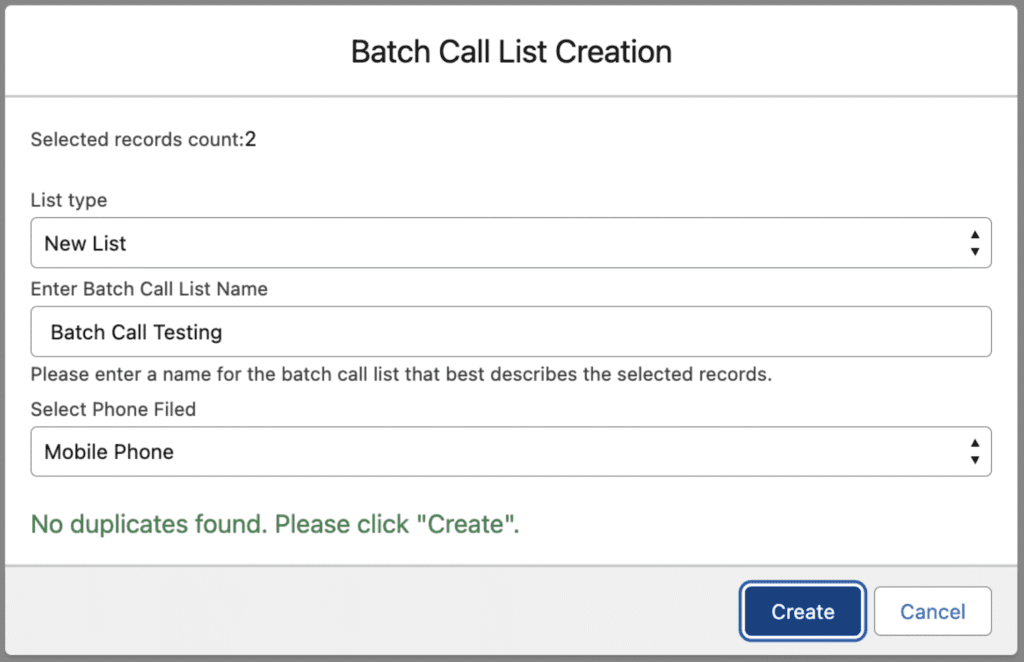
Option 2: New List #
1. Choose New List.
2. Enter a Batch Name (for easy identification).

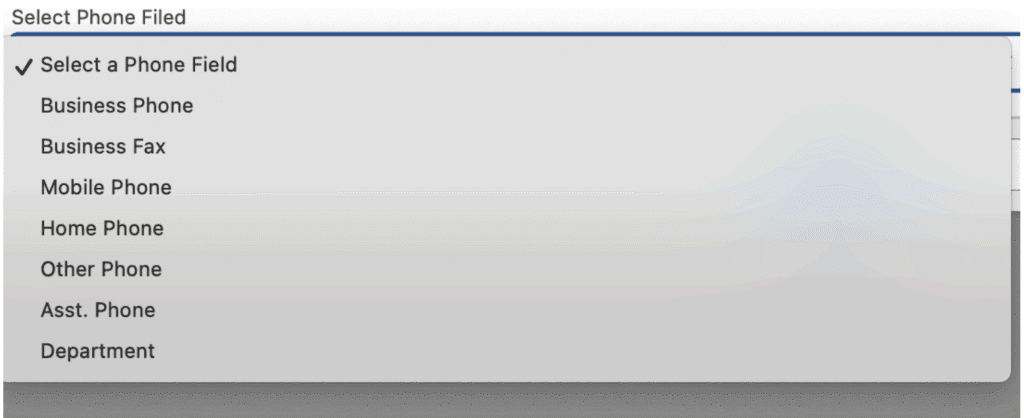
3. Select the Phone Field (e.g., Phone or Mobile) to use for calling.
4. Click Create.
✅ The system checks for duplicate records before finalizing the batch.
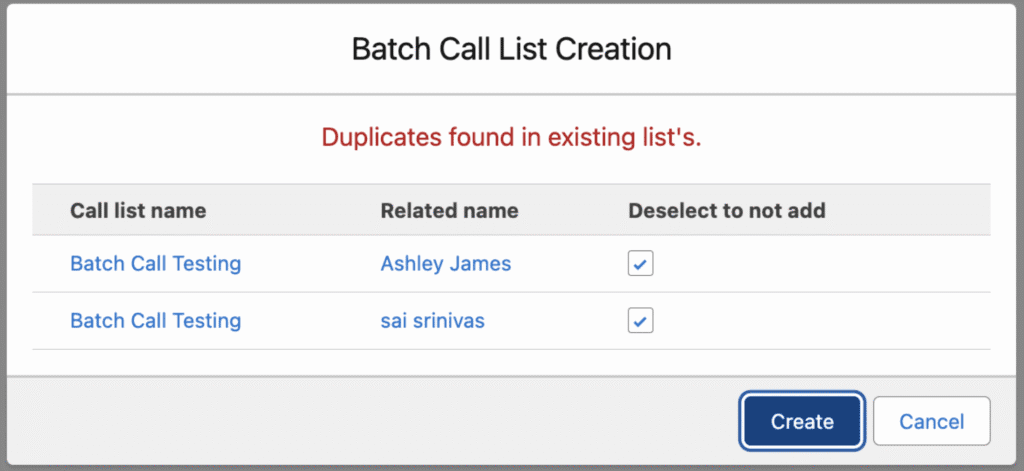
Step 4: Handle Duplicate Records #
If any of the selected records already exist in another batch:
- The system will display a list of duplicate records.
- Review the list and select the ones you want to include.
- Click Create again.
✅ The new batch list will now be created successfully.
If there are no duplicate records then it shows as below
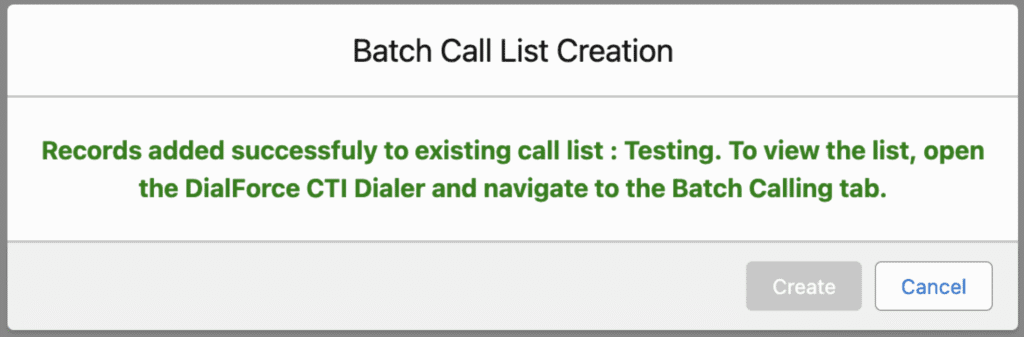
If the list type is of Existing Type it shows the below image
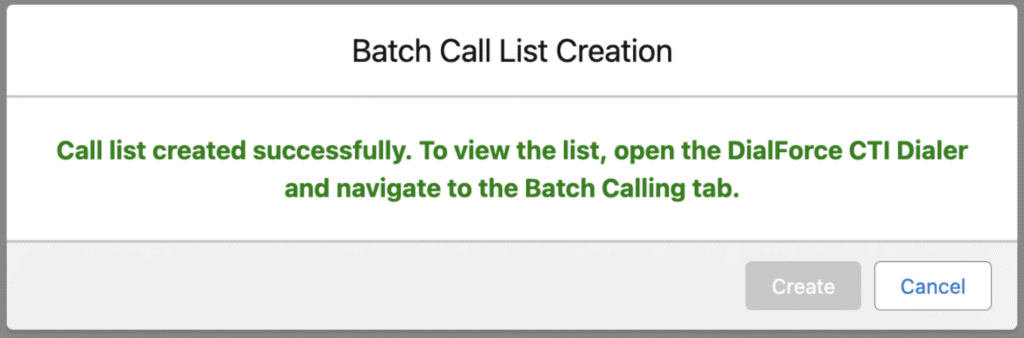
If the list type is of New Type it shows the below image
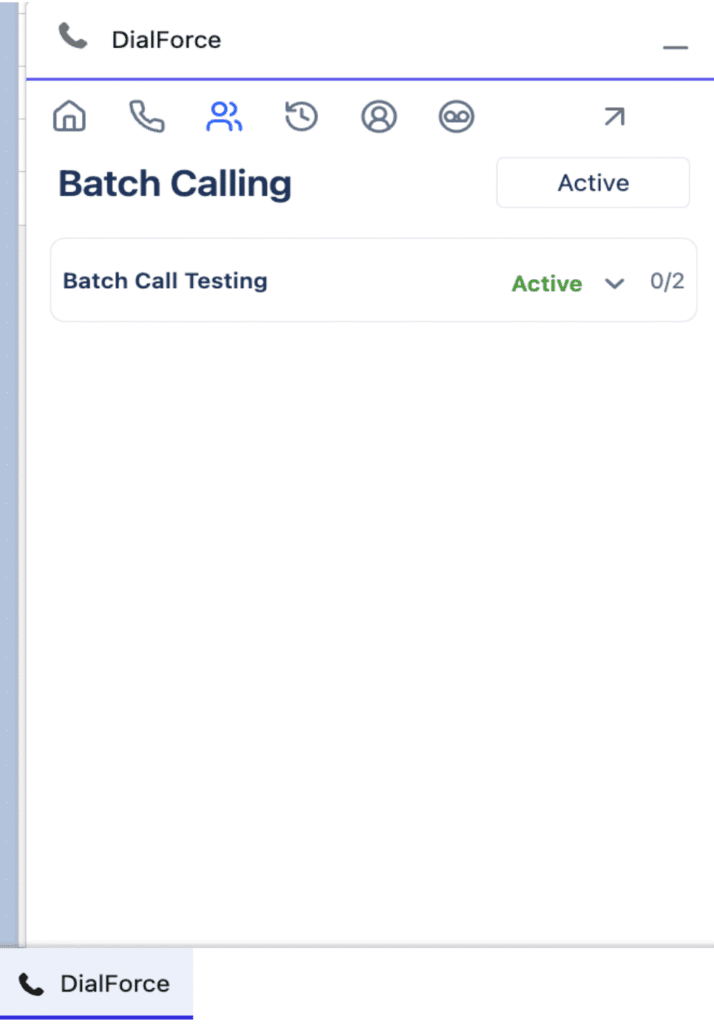
Step 5: Access the Batch Calling Feature #
- Go to your Salesforce Utility Bar.
- Click the CTI (Dialforce) icon.
- Open the Batch Calling tab.
✅ You’ll now see all available batch call lists in your org.
Step 6: View and Manage Your Batch #
1. Select the required Batch from the list.
2. The app will display:
- The Batch Name
- The List of Records (customers to be called)
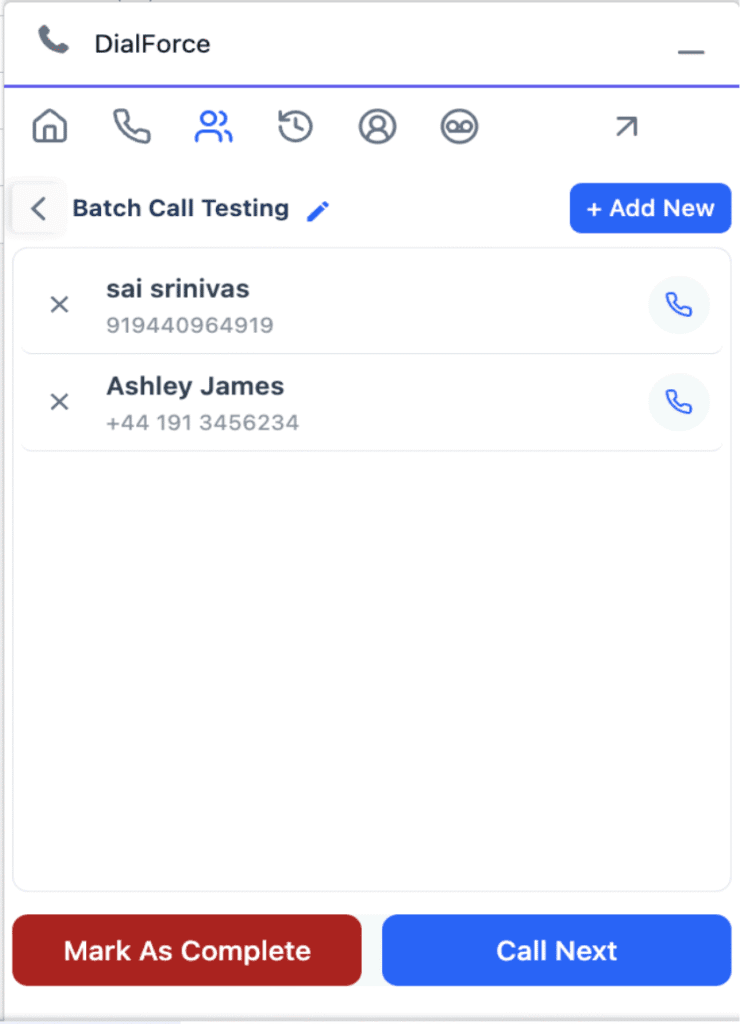
3. You can:
- Rename the batch using the ✏️ Edit icon.
- Add or remove records as needed.
Step 7: Add Records to a Batch #
1. Click Add New.
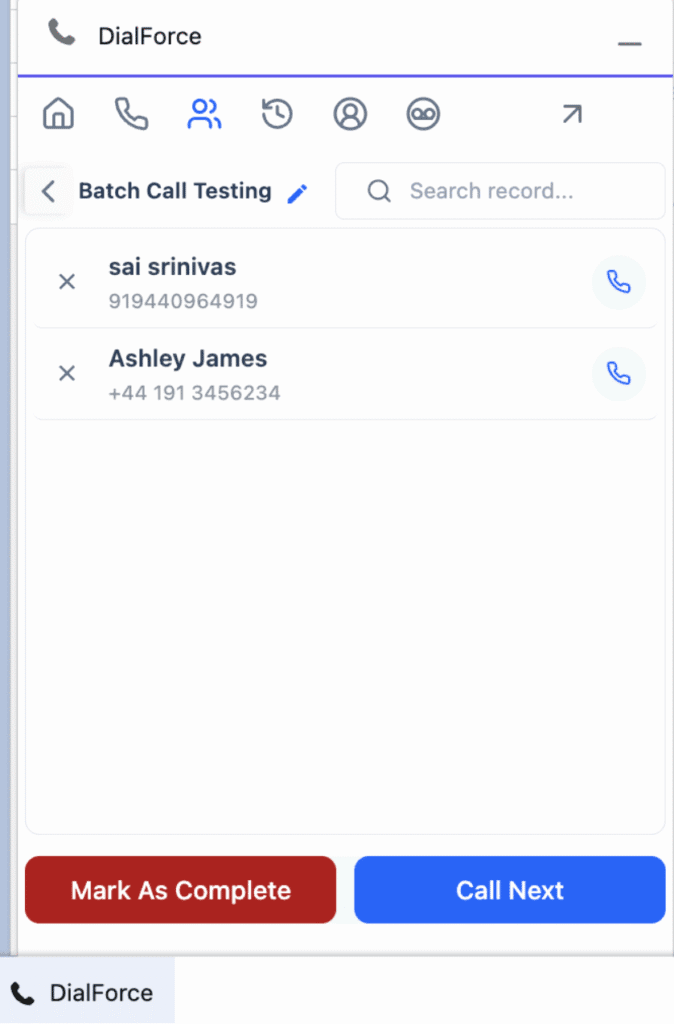
2. In the Search Box, type a keyword or record name.
3. Select the record from the search results.
4. The record is added to the batch list automatically.
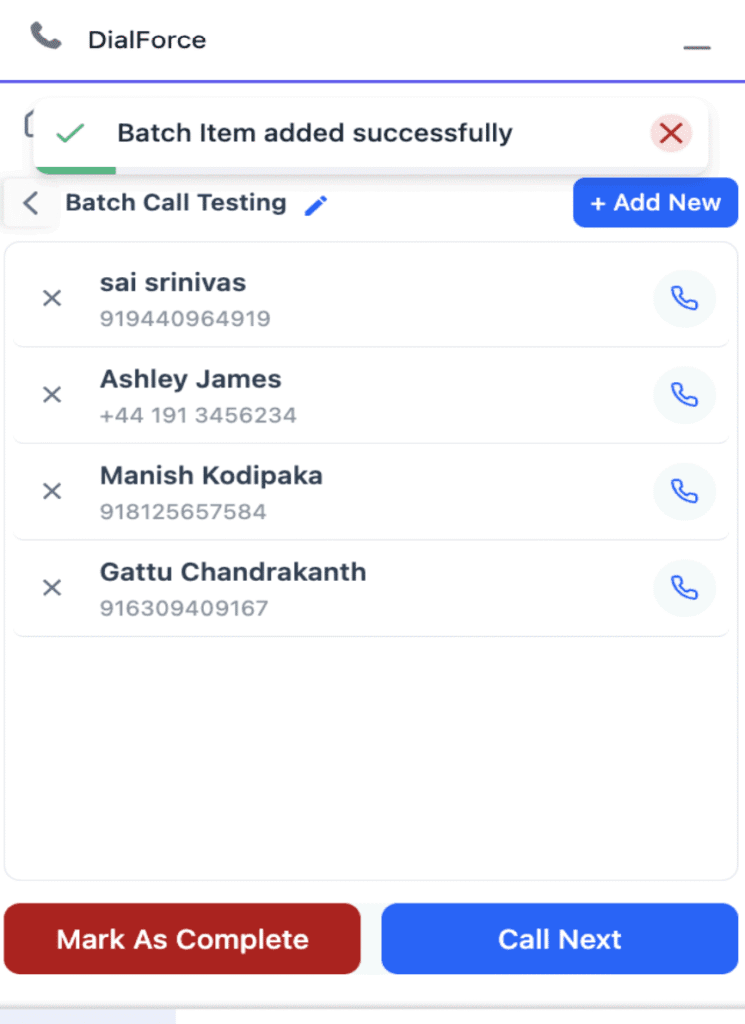
✅ Use this to include additional records at any time.
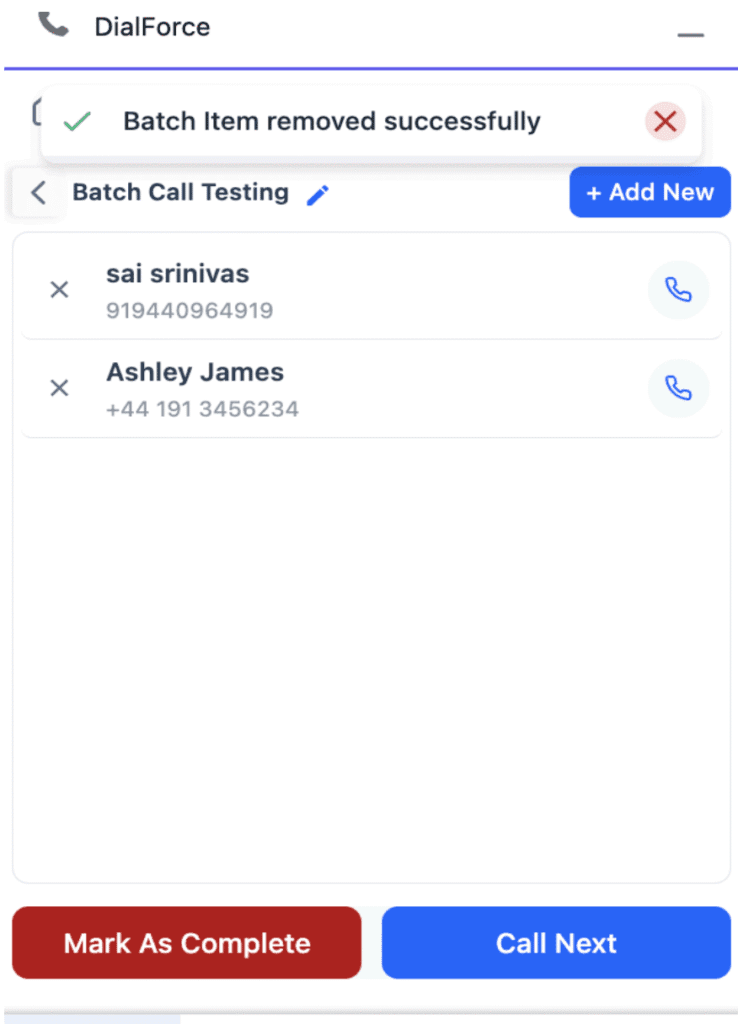
Step 8: Remove Records from a Batch #
- Find the record you wish to remove.
- Click the X icon beside it.
- The record will be removed immediately from the batch.
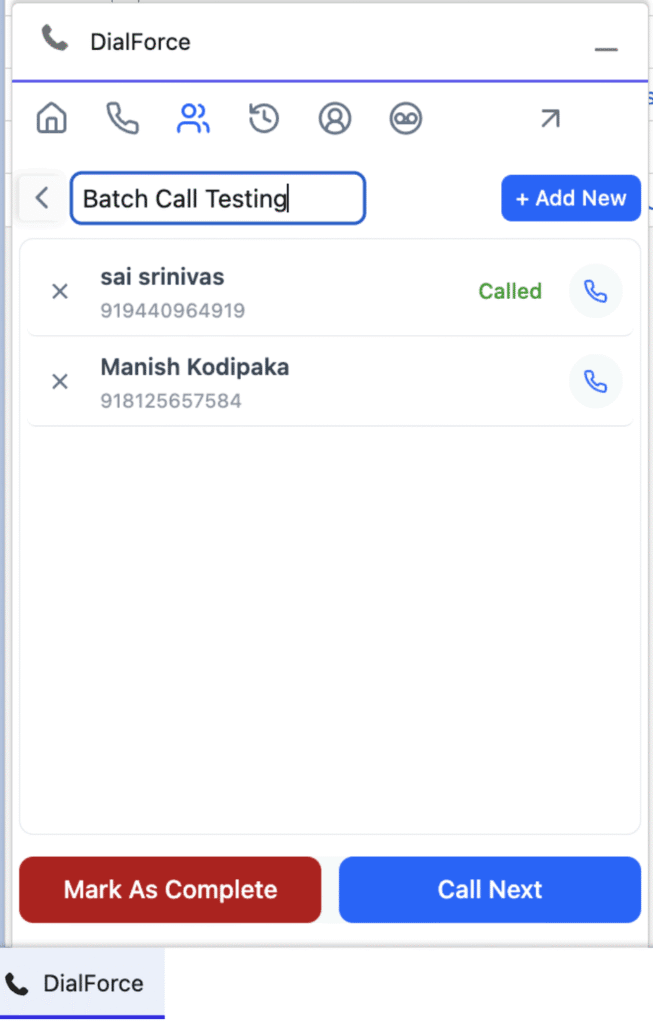
Step 9: Start Batch Calling #
1. Click Call Next to begin calling.
- The system will automatically dial the first number in the batch list.
2. After the call, open the batch again to check the Call Status:
- Connected
- Not Connected
- Customer Did Not Answer
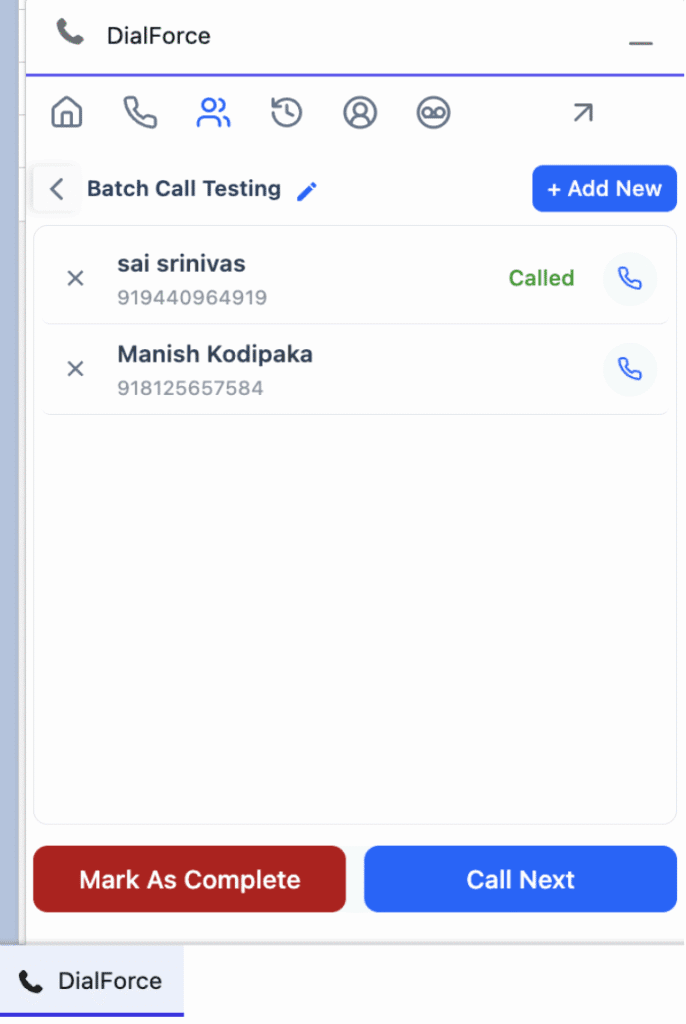
3. Click Call Next again to move to the next record.
4. Continue this process until all records are called.
✅ Each call’s result is recorded automatically for tracking.
Step 10: Retry Missed or Unconnected Calls #
After calling all records:
- If any calls were missed or not connected, clicking Call Next again will automatically redial those numbers.
The process continues until there are no uncalled or missed numbers left in the batch.
Step 11: Mark the Batch as Complete #
- Once all calls have been made (including retries), click Mark as Complete.
- The batch will be closed and marked as finished in the system.
✅ All call activities and statuses are now recorded for reporting and review.


